We welcome you to contact us, STEADY not only your reliable supplier, but also your turstworthy business partner.
 +(86)-133 8863 9264
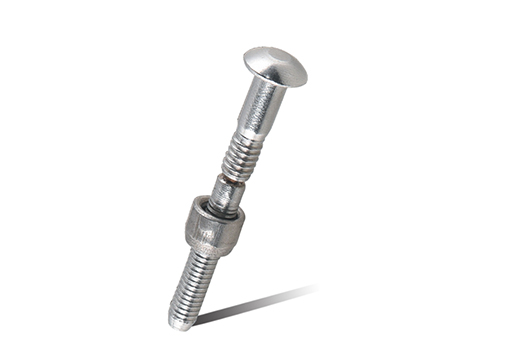
Jan 14,2026
Content
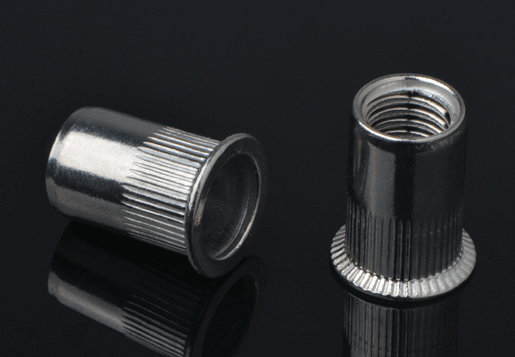
A blind rivet nut, often referred to as a ribnut or nutsert, is a specialized internally threaded fastener designed for applications where access is limited to only one side of a workpiece. Unlike traditional nuts that require a secondary person or tool to hold them in place behind a panel, the blind rivet nut is installed from the front. This unique design consists of a tubular shank that is partially hollow and a threaded interior. When the installation tool pulls the threaded mandrel, it collapses the unthreaded portion of the shank against the back of the material, creating a high-strength, permanent thread in thin-gauge metals, plastics, or composite materials that are otherwise too thin to be tapped.
The "blind" aspect of this fastener is its greatest advantage, making it indispensable in automotive assembly, aerospace engineering, and electronic enclosure manufacturing. Because the installation process involves controlled deformation, it creates a flange on the blind side that distributes the load across a larger surface area, preventing pull-through and ensuring structural integrity even under significant vibration or torque.
Selecting the correct material for a blind rivet nut is critical to prevent galvanic corrosion and ensure the longevity of the joint. Different environments require specific metallurgical properties to handle stress and environmental exposure.

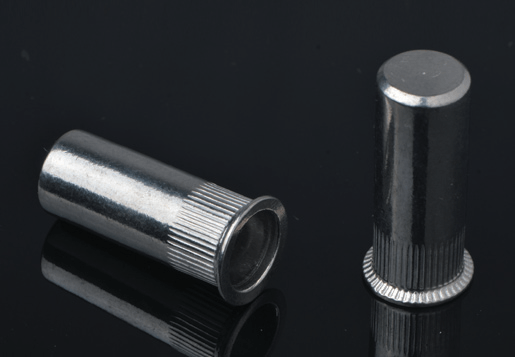
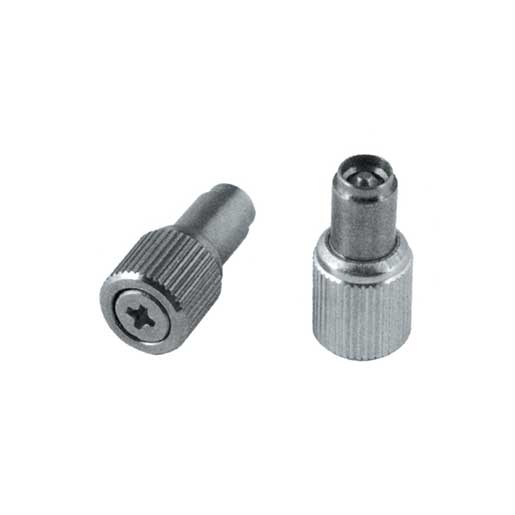
The physical geometry of a blind rivet nut dictates how it interacts with the host material. Choosing the right body style depends on the torque requirements and the thickness of the parent material.
| Body Type | Best For | Key Benefit |
| Smooth Circular | General Purpose | Easy hole preparation |
| Ribbed/Knurled | Softer Materials | Increased turn-out resistance |
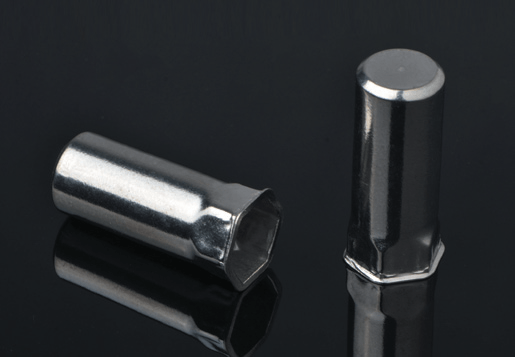
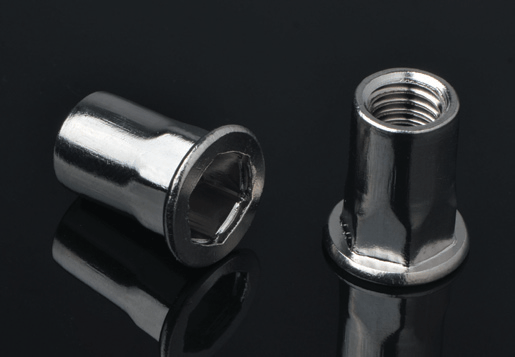
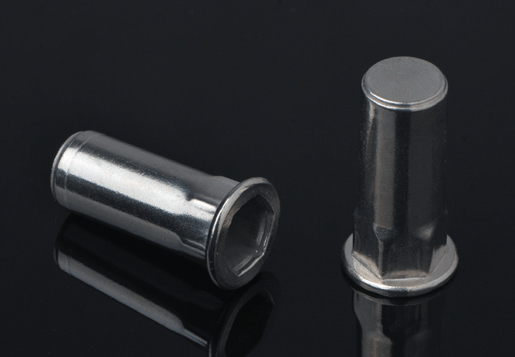
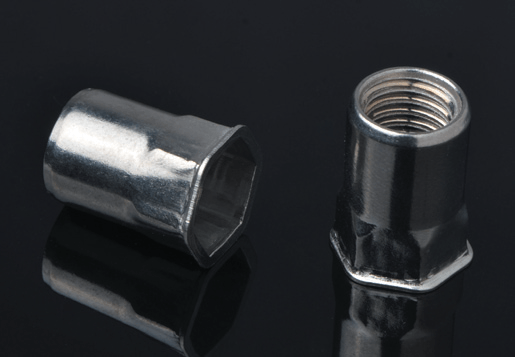
| Hexagonal | High Torque Apps | Eliminates spinning in hole |
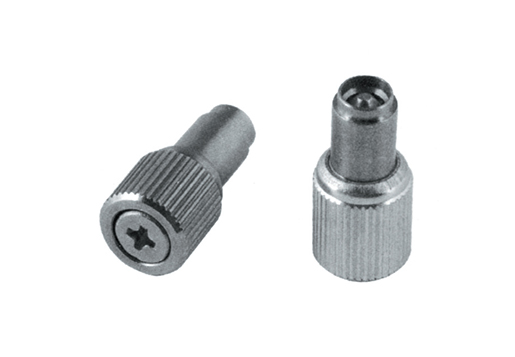
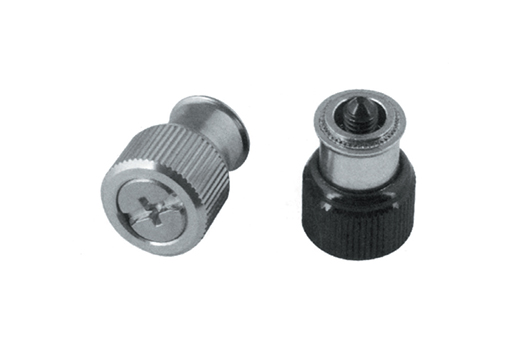
The flange choice affects the profile of the finished assembly. Large flanges provide a wide load-bearing surface and can act as a spacer, while countersunk heads allow the rivet nut to sit flush with the surface of the material. Flush mounting is particularly useful in applications where a secondary component must sit perfectly flat against the base material without a gap.
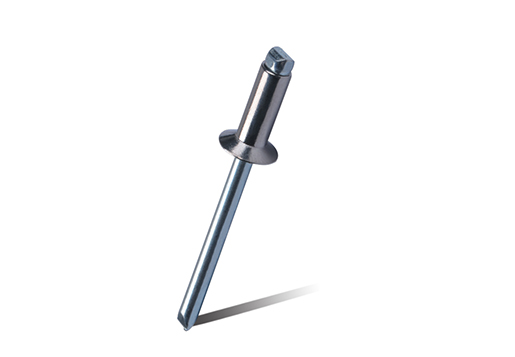
To achieve a professional-grade result, the installation process must be precise. Errors in hole sizing or tool calibration can lead to "spinning" (where the nut rotates within the hole) or thread stripping.
Even experienced technicians encounter challenges when working with blind rivet nuts. If a nut is under-set, it will remain loose and may spin when a bolt is inserted. Conversely, over-setting can strip the internal threads or damage the installation tool's mandrel. Always perform a test installation on a scrap piece of the same material and thickness to calibrate the stroke or pressure of your tool. If spinning occurs, consider switching to a knurled body style or a hexagonal nut, provided the hole can be punched or broached to a hex shape.


")
")
")

Copyright © Steady Industrial Fasteners Co., Ltd. All Rights Reserved China Blind Rivet Nuts Manufacturers Self-Clinching Factory


 EN
EN  English
 русский
 한국어
한국어 عربى
عربى Türk
Türk