We welcome you to contact us, STEADY not only your reliable supplier, but also your turstworthy business partner.
 +(86)-133 8863 9264
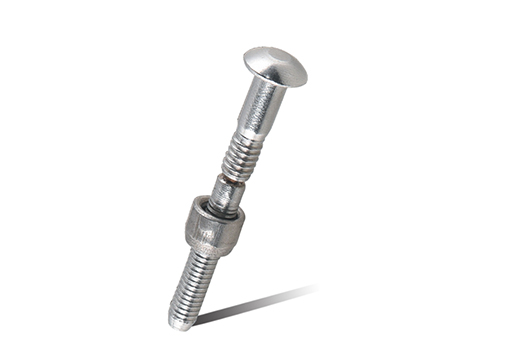
Jan 27,2026
Content
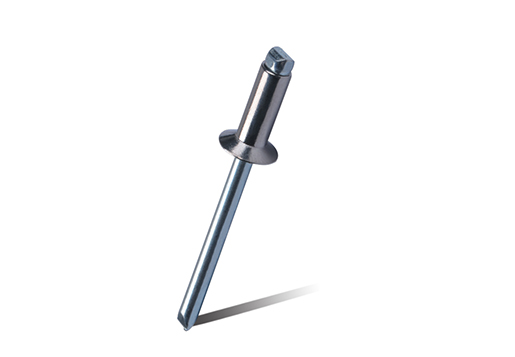
Blind rivet nuts, often referred to simply as "rivnuts" or threaded inserts, solve a specific engineering challenge: creating strong, reusable threads in materials that are too thin to tap. Unlike standard rivets which permanently join two pieces, a rivet nut anchors itself into a single sheet, providing a mounting point for bolts or screws. This makes them indispensable in automotive restoration, aerospace, and custom fabrication where backside access is impossible.
The mechanism relies on compression. When the rivet nut is threaded onto the setting tool and inserted into a pre-drilled hole, the tool pulls the threads backward. This action causes the unthreaded portion of the shank—known as the collapse chamber—to bulge outwards on the blind side of the material. This bulge clamps the sheet metal tightly against the head of the fastener, locking it in place. Understanding this deformation process is critical because if the pull force is too weak, the nut spins; if it is too strong, the threads strip.
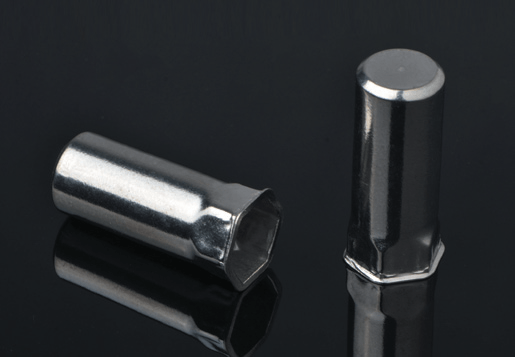
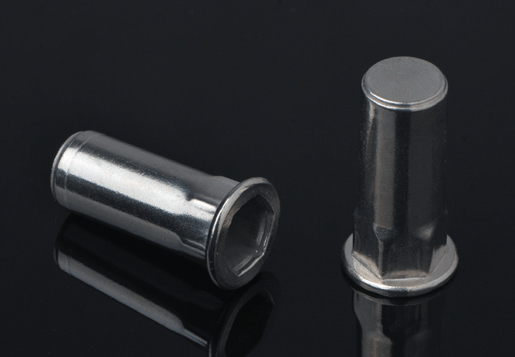
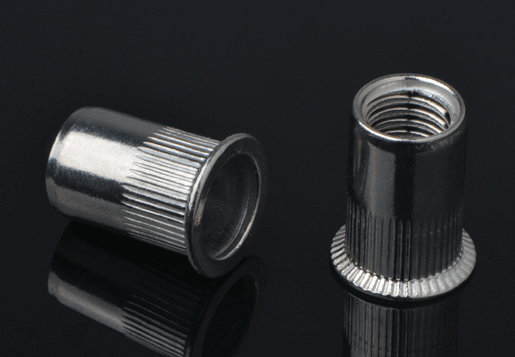
Choosing the right shape is the first step in preventing failure. The body profile dictates the fastener's resistance to "spin-out"—the most common failure mode where the nut rotates in the hole when a bolt is tightened. While round bodies are the most common due to ease of installation (requiring only a standard drill bit), they offer the least resistance to torque.
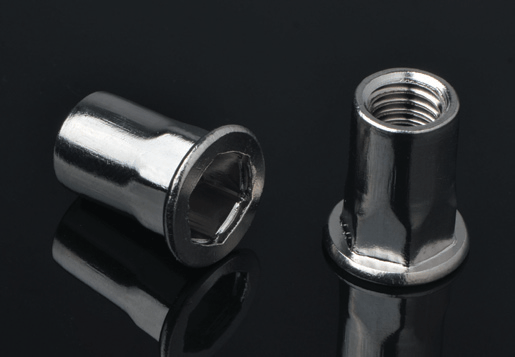
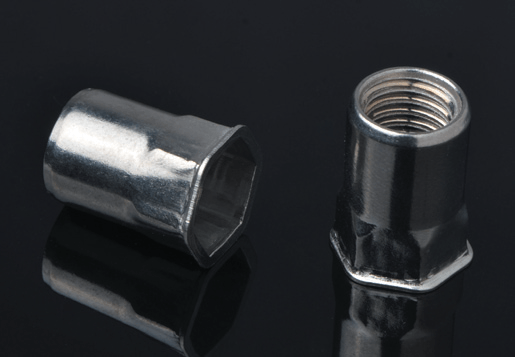
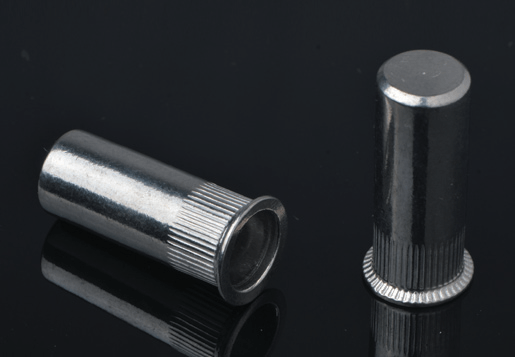
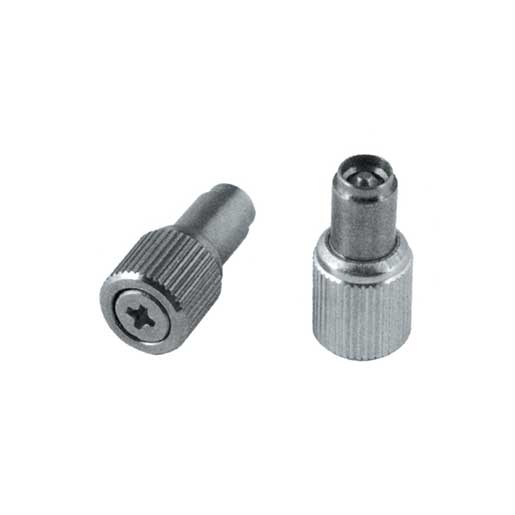
For high-torque applications, hexagonal body rivet nuts are superior. They require a hex-shaped hole, usually formed by a laser cutter or a specialized punch, but they mechanically lock into the material, making spin-out nearly impossible. If you are restricted to drilling round holes but need higher torque resistance, look for "splined" or "knurled" round bodies. These feature vertical ridges on the shank that bite into the host material to increase friction.
The head style affects the final flushness of your assembly. A Flat Head provides the most surface area on the front side, offering high push-out resistance, but it sits proud of the surface. A Countersunk Head allows the fastener to sit flush with the material but requires you to countersink the hole, which is difficult in very thin sheet metal. A Reduced or Low-Profile Head is a hybrid option, offering a near-flush fit without the need for countersinking, though it offers slightly less structural strength than a large flat head.
One of the most overlooked aspects of rivet nut installation is galvanic corrosion. This occurs when two dissimilar metals are in contact in the presence of an electrolyte (like moisture), causing one to corrode rapidly. For example, installing an aluminum rivet nut into a steel panel can lead to the nut turning to white powder over time, causing structural failure.

Unlike a standard nut and bolt, a blind rivet nut has a specific "grip range"—the minimum and maximum material thickness it can effectively clamp. If you attempt to install a rivet nut with a grip range of 0.5mm–3.0mm into a 4.0mm thick plate, the collapse chamber will not fully expand, resulting in a loose fit. Conversely, using a rivet nut designed for thick materials on a thin sheet will prevent the head from seating properly.
Always measure the total thickness of the material you are installing into, including any paint or coatings. Manufacturers stamp or color-code their fasteners to indicate grip range. If you are working with variable thicknesses, consider "multigrip" rivet nuts, which feature variable collapse zones to accommodate a wider range of gauges.
| Parameter | Consequence of Error | Solution |
| Hole Size Too Large | Rivet nut spins freely; loss of torque resistance. | Use precise drill bits; do not wobble the drill. |
| Grip Range Too Short | Bulge forms inside the hole, not behind it. | Measure material thickness with calipers. |
| Over-Torquing Tool | Threads strip or mandrel snaps. | Adjust tool stroke; use a torque-limited tool. |
Spin-out is the nightmare scenario for any installer. Once a rivet nut spins, removing the bolt becomes extremely difficult, often requiring the bolt head to be ground off. Prevention is entirely dependent on hole preparation and proper setting force.
The hole must be the exact diameter specified by the manufacturer. If the spec calls for a 9mm hole, a 3/8" drill bit (which is roughly 9.5mm) will result in a sloppy fit and inevitable failure. Use metric bits for metric rivet nuts. Furthermore, ensure the hole is deburred. Burrs can sit under the head of the rivet nut, preventing it from sitting flush and reducing the friction needed to hold the fastener stationary.
If you are forced to use a round rivet nut in a critical application, you can increase security by applying a retaining compound (such as Loctite 680) to the outside of the rivet nut body before insertion. Allow it to cure fully before installing the bolt. This adds a chemical bond to supplement the mechanical friction.


")
")
")

Copyright © Steady Industrial Fasteners Co., Ltd. All Rights Reserved China Blind Rivet Nuts Manufacturers Self-Clinching Factory


 EN
EN  English
 русский
 한국어
한국어 عربى
عربى Türk
Türk