We welcome you to contact us, STEADY not only your reliable supplier, but also your turstworthy business partner.
 +(86)-133 8863 9264
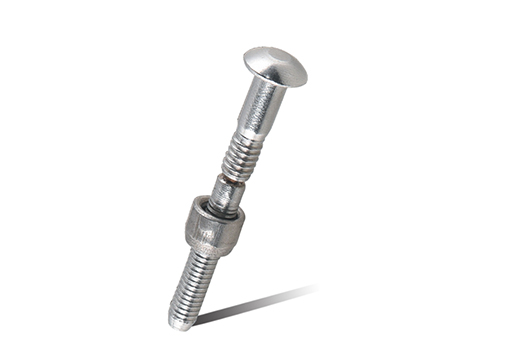
Oct 09,2025
Selecting and installing the right weld studs is critical for creating a strong, reliable, and durable joint. These specialized fasteners are integral to various industries, including automotive, construction, and manufacturing. This guide will walk you through the key considerations for selecting the right stud welded fastener and provide a step-by-step overview of the installation process to ensure a successful outcome.
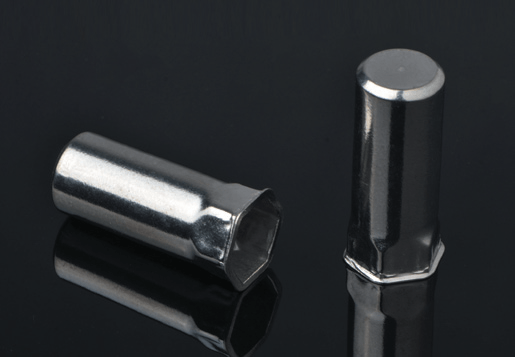
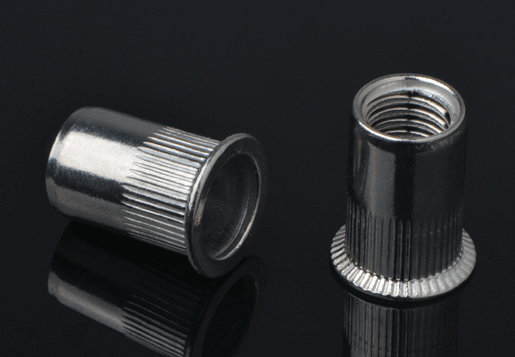
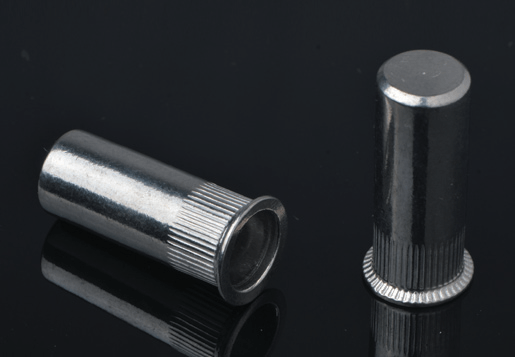
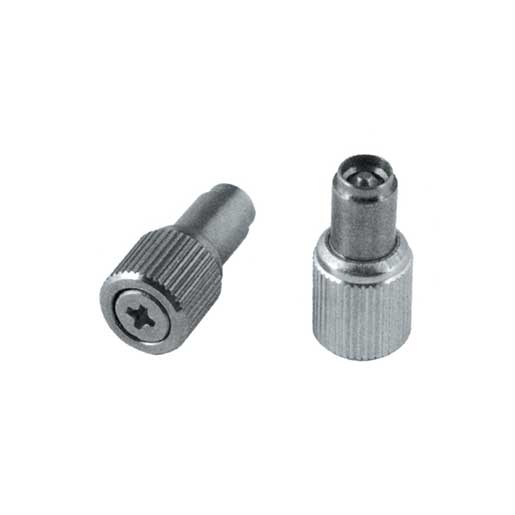
Weld studs, also known as stud weld fasteners or welded studs, are threaded or unthreaded metal pins designed to be permanently welded to a workpiece. Unlike traditional screws or bolts that require a pre-drilled hole, weld studs are attached directly to a flat surface, creating a robust, leak-proof, and aesthetically clean connection.
There are two primary methods for stud welding:
Arc Welding (Drawn Arc): This method is used for welding larger diameter studs (typically over 1/4 inch or 6 mm) to thicker base materials. It involves creating a high-energy electric arc between the stud and the workpiece, melting both surfaces to form a solid bond. This process is highly effective for heavy-duty applications.
Capacitor Discharge (CD) Welding: Ideal for smaller studs (up to 3/8 inch or 10 mm) and thinner materials, CD welding uses a rapid, high-current discharge from a capacitor bank. The weld happens in milliseconds, minimizing heat distortion and discoloration on the reverse side of the workpiece. This makes it perfect for applications where appearance is important, such as decorative panels or thin sheet metal.
Choosing the correct stud fastener is the first and most crucial step. A mismatch between the stud and the application can lead to weld failure and potential damage to the component. Consider the following factors:
Material Compatibility: The stud material must be compatible with the base metal of the workpiece. Common materials for stud welding fasteners include low carbon steel, stainless steel, aluminum, and brass. Using a stainless steel stud on an aluminum plate, for example, may not create a strong weld due to differences in melting points and metallurgical properties.
Thread Pitch and Diameter: Select the thread size (e.g., M6, 1/4-20) and length based on the specific requirements of the final assembly. The diameter of the stud determines the size of the weld "puddle," which in turn dictates the required welding equipment and current settings.
Application Requirements: Will the joint be subjected to high shear forces, tension, or torque? Is it in a corrosive environment? The application will determine the required tensile strength, corrosion resistance, and overall durability of the stud weld connection.
Weld Method: As mentioned, the chosen weld method (Drawn Arc or CD) will directly influence the type of stud you can use. Ensure the stud is designed for the specific welding process you plan to use.
Once you have selected the right stud fastener, follow these steps for a successful installation:
1. Prepare the Workpiece and Stud
Cleanliness is Key: The welding surface on both the workpiece and the stud must be free of paint, oil, rust, and other contaminants. A clean surface ensures a strong, uniform weld.
Proper Grounding: The welding equipment must be properly grounded to the workpiece. A poor ground connection can lead to unstable arcs and weak welds.

2. Configure the Welding Equipment
Set the Parameters: Adjust the welding current, time, and other parameters according to the stud manufacturer's recommendations and the diameter of the stud being used. These settings are crucial for achieving the correct weld "nugget" and preventing blow-through on thin materials.
Verify Chuck and Collet: Ensure the stud holder (collet or chuck) is the correct size for the stud and is free of debris. A loose or dirty chuck can cause the stud to be misaligned or not weld correctly.
3. Position the Stud
Mark the Location: Precisely mark the desired location for the welded stud on the workpiece. Use a template or jig if multiple studs are being installed to ensure consistent placement.
Hold Firmly: Place the stud in the holder and position it perpendicular to the workpiece. Apply slight, consistent pressure to ensure good contact.
4. Execute the Weld
Initiate the Weld Cycle: Trigger the weld gun. The equipment will automatically execute the pre-programmed weld cycle, creating a fusion between the stud base and the workpiece.
Check the Weld: After the weld, visually inspect the base of the stud. A successful weld will have a clean, uniform weld "fillet" or "flash" around the entire circumference. A weak weld may show a partial fillet, indicating a poor connection. For a more robust test, you can gently tap the stud with a hammer to ensure it is secure.
5. Final Assembly
Allow to Cool: Let the fastener stud cool down naturally. Do not attempt to cool it rapidly with water, as this can create a brittle weld.
Complete Assembly: Once cooled, the stud is ready for the final assembly, whether it's attaching a component with a nut or a different part.
By following these guidelines for selecting and installing weld studs fasteners, you can ensure the integrity and reliability of your assemblies, leading to a long-lasting and secure product.


")
")
")

Copyright © Steady Industrial Fasteners Co., Ltd. All Rights Reserved China Blind Rivet Nuts Manufacturers Self-Clinching Factory


 EN
EN  English
 русский
 한국어
한국어 عربى
عربى Türk
Türk