We welcome you to contact us, STEADY not only your reliable supplier, but also your turstworthy business partner.
 +(86)-133 8863 9264


")
")
")

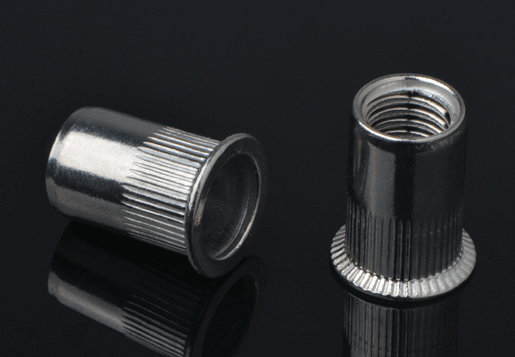
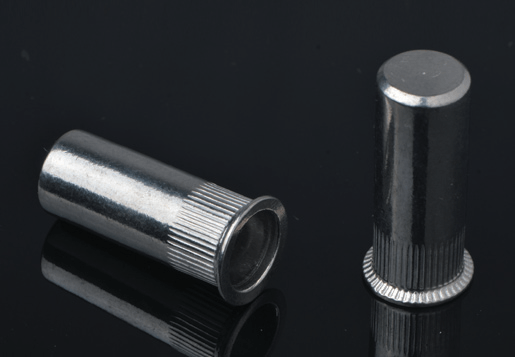
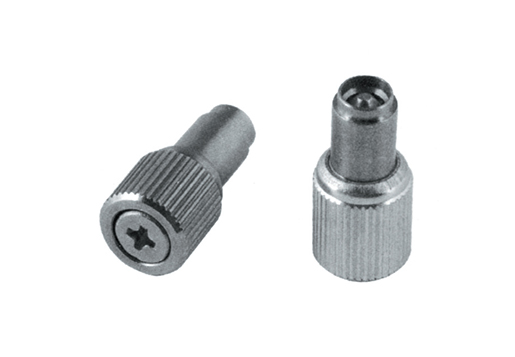
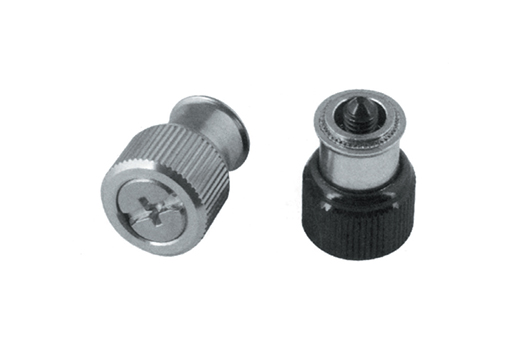
Copyright © Steady Industrial Fasteners Co., Ltd. All Rights Reserved China Blind Rivet Nuts Manufacturers Self-Clinching Factory


 EN
EN  English
 русский
 한국어
한국어 عربى
عربى Türk
Türk