We welcome you to contact us, STEADY not only your reliable supplier, but also your turstworthy business partner.
 +(86)-133 8863 9264
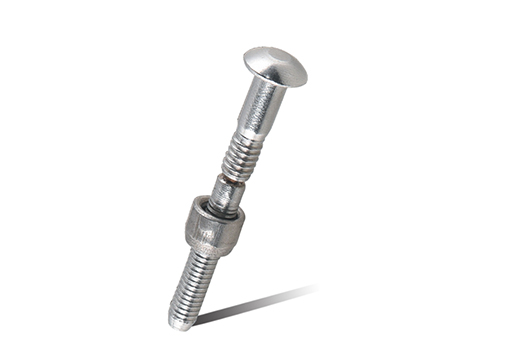
Jul 01,2025
Self-clinching fasteners are a popular choice in manufacturing and engineering for creating strong, permanent threads in thin sheet metal. Unlike traditional nuts and bolts, they provide a flush finish on one side of the panel, making them ideal for applications where space is limited or a clean aesthetic is required. Proper installation is critical to ensure their intended performance, and this guide will walk you through the process step-by-step.
Content
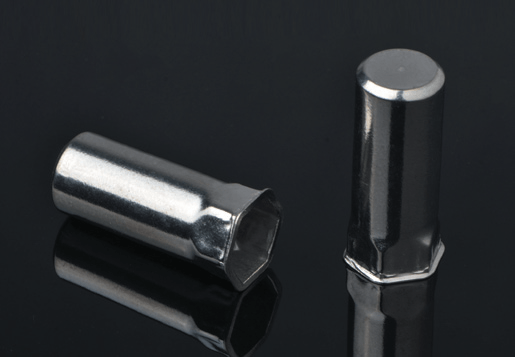
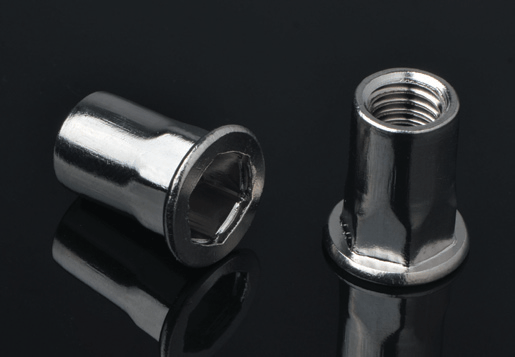
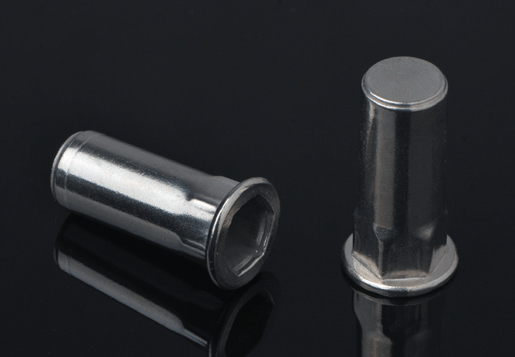
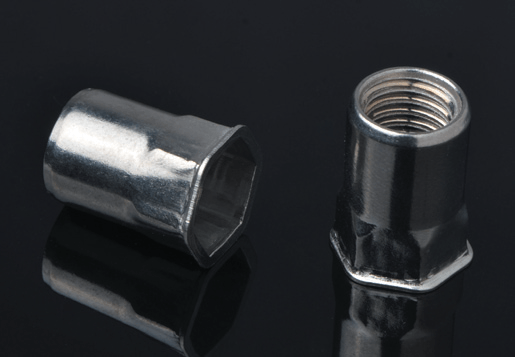
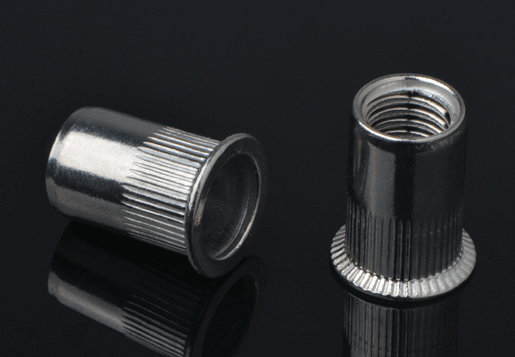
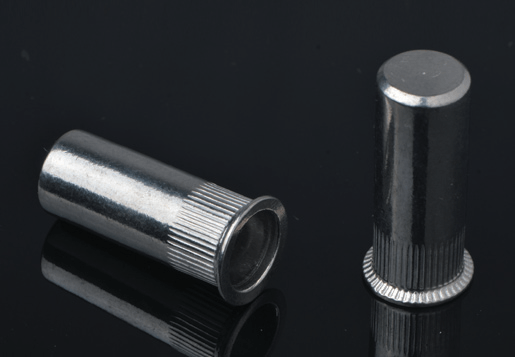
Self-clinching fasteners, often referred to as "clinch nuts," "clinch studs," or "standoffs," are specially designed to be pressed into ductile sheet metal. They feature a knurled or serrated shank that displaces the host material, which then flows into a specially designed annular groove on the fastener's shank. This mechanical interlock creates a high-strength, permanent attachment that resists rotation and push-out forces.
Before you begin, ensure you have the right tools for the job. Using incorrect tools can damage the fastener, the sheet metal, or both.
Press: A hydraulic, pneumatic, or mechanical press is the most effective and reliable tool for installation. This provides the controlled, perpendicular force needed to set the fastener correctly.
Anvil and Punch: These are the die components used with the press. The anvil supports the sheet metal, and the punch applies the force to the fastener. Anvil and punch kits are often available from fastener manufacturers.
Sheet Metal: The workpiece into which the fastener will be installed.
Pre-Punched Hole: A hole in the sheet metal, precisely sized according to the fastener's specifications.
Safety Gear: Safety glasses and gloves are always recommended.
Follow these steps for a successful installation every time.
The quality of the installation begins with the preparation of the sheet metal.
Punch or Drill the Hole: Use a punch press or a drill to create a hole in the sheet metal. The hole size is a critical dimension. It must be within the tolerance specified by the fastener manufacturer. A hole that is too large will not allow the material to flow properly, resulting in a weak installation. A hole that is too small can lead to deformation of the fastener or the sheet metal.
Deburr the Hole: After punching or drilling, remove any burrs from the hole. Burrs can prevent the fastener from seating flush and can interfere with the material flow. Use a deburring tool or a countersink bit to clean the edges.
Place the Anvil: Position the anvil on the press bed. Ensure it is clean and free of debris.
Position the Fastener: Place the fastener into the hole. The fastener should be oriented correctly with its clinching shank facing the punch. For studs and standoffs, the head of the fastener should be in contact with the anvil. For nuts, the knurled shank should be in the hole, and the hexagonal or round body should be on the side of the sheet metal you're working on.
Align the Punch: Lower the punch until it is aligned with the top of the fastener. The punch should be a flat-faced tool that applies even pressure across the entire surface.
This is the most critical step. The force must be applied in a controlled and perpendicular manner.
Apply Force: Slowly and steadily apply pressure with the press. You will feel a resistance as the fastener's shank begins to displace the sheet metal.
Press until Flush: Continue to apply force until the fastener's head is completely flush with the surface of the sheet metal. You will know the fastener is properly set when its head is flush and the sheet metal material has been visibly displaced into the annular groove.
Avoid Over-Pressing: Do not over-press the fastener. Over-pressing can cause the sheet metal to bulge or distort, which can weaken the joint. Once the fastener is flush, the installation is complete.
After installation, perform a quick check to ensure the fastener is secure.
Visual Inspection: Visually inspect the installed fastener. The head should be flush with the sheet metal.
Check for Rotation: Try to rotate the fastener by hand. A properly installed fastener will not rotate.
Check for Push-out: Give it a gentle push-out test to ensure it is securely clinched.
Fastener Not Flush: This is typically caused by insufficient installation force. Increase the pressure from the press until the fastener is fully seated.
Sheet Metal Bulging or Distorting: This is a sign of over-pressing. Reduce the installation force.
Fastener Spins: The hole size is likely too large or the material is too hard. Check the manufacturer's specifications for the correct hole size and material hardness range.
Cracked Sheet Metal: The hole size may be too small, or the material may be too brittle for clinching. Ensure the sheet metal is a ductile material.
Material Hardness: Self-clinching fasteners are designed for use in materials with a specific hardness range (typically Rockwell B 80 or less). Using them in harder materials can cause the fastener to deform or the sheet metal to crack.
Sheet Thickness: Each fastener is designed for a specific minimum sheet thickness. Using it in thinner material will not allow for proper material flow and will result in a weak clinch.
Hole Edge Distance: The distance from the center of the hole to the edge of the panel or another hole must be sufficient to prevent the sheet metal from cracking or deforming.
Proper Anvil and Punch Selection: Use the manufacturer's recommended anvil and punch for the specific fastener you are installing.
By following these professional guidelines, you can ensure the successful and reliable installation of self-clinching fasteners, creating strong and durable assemblies for your projects.


")
")
")

Copyright © Steady Industrial Fasteners Co., Ltd. All Rights Reserved China Blind Rivet Nuts Manufacturers Self-Clinching Factory


 EN
EN  English
 русский
 한국어
한국어 عربى
عربى Türk
Türk