We welcome you to contact us, STEADY not only your reliable supplier, but also your turstworthy business partner.
 +(86)-133 8863 9264
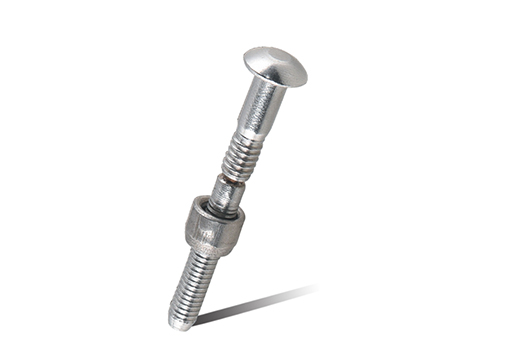
Jul 08,2025
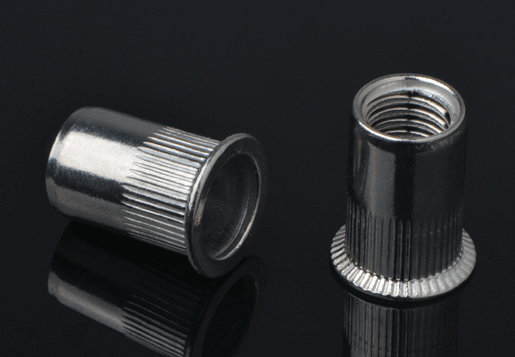
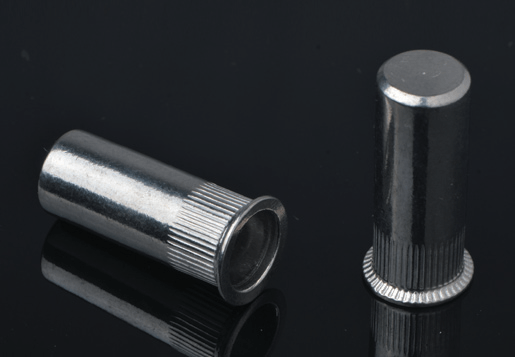
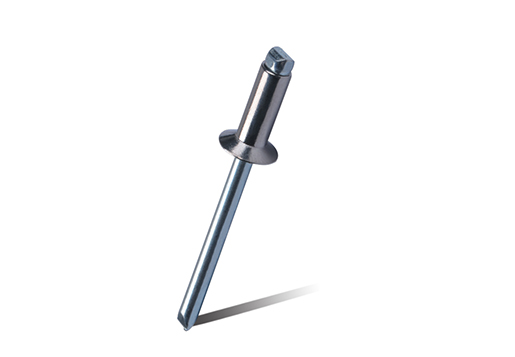
Blind rivet nuts, often simply called rivet nuts or threaded inserts, are versatile fasteners used to create a threaded hole in materials where tapping is not possible or practical. They're particularly useful for thin-gauge materials, tubing, or applications where access to the backside is limited (hence "blind"). Understanding how to properly install them is key to a secure and reliable joint.
Content
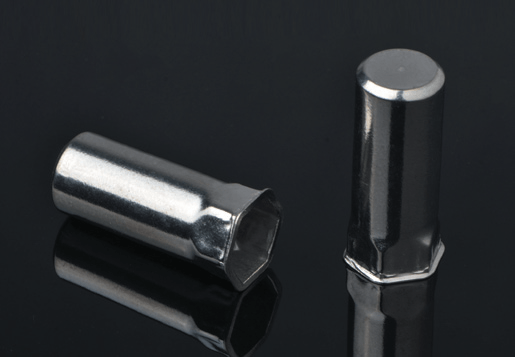
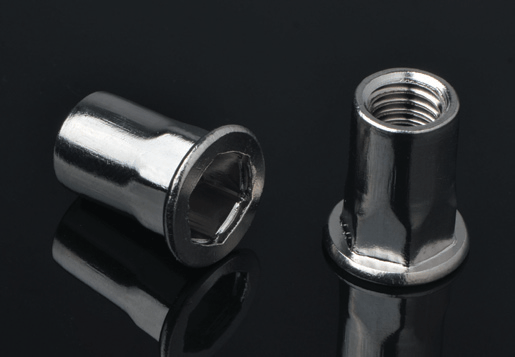
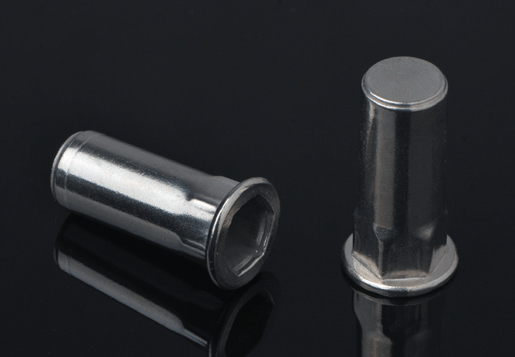
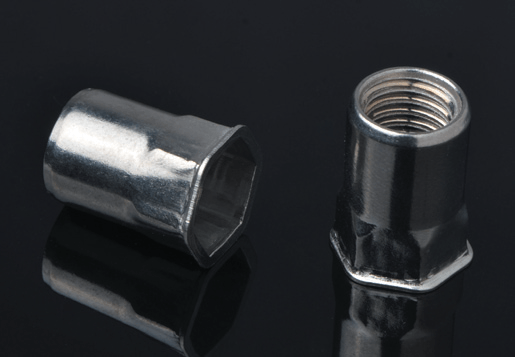
Before diving into installation, let's briefly define what we're working with. A blind rivet nut is a one-piece internally threaded tubular rivet that can be anchored from one side of the material. When installed, its body collapses to form a bulge on the blind side, gripping the material firmly and creating a strong, permanent thread. They come in various materials (steel, stainless steel, aluminum) and body styles (round, knurled, hexagonal) to suit different applications and material types.
Proper installation of a blind rivet nut requires specific tools:
Rivet Nut Tool (Rivet Nut Setter/Gun): This is the most crucial tool. Manual, pneumatic, or hydraulic tools are available, depending on the volume of installations and the size of the rivet nuts. The tool works by pulling a threaded mandrel, which is screwed into the rivet nut, causing the body of the rivet nut to collapse and flare.
Correct Size Nosepiece and Mandrel: These components are specific to the thread size of the rivet nut you are installing. Using the wrong size will result in improper installation or damage to the tool and the rivet nut.
Drill: To create the pilot hole for the rivet nut.
Drill Bit: Sized according to the specifications of the rivet nut (the diameter of the un-deformed body). Always refer to the rivet nut manufacturer's specifications for the precise drill hole diameter.
Safety Glasses and Gloves: Essential personal protective equipment for any drilling or fastening operation.
Here's a detailed breakdown of the typical installation process for a blind rivet nut:
Drill the Pilot Hole:
Measure and mark the precise location for your rivet nut.
Using the correct size drill bit (as specified by the rivet nut manufacturer), drill a clean hole through the material. The hole should be just large enough for the un-deformed rivet nut body to fit snugly. A hole that's too small will prevent insertion, while one that's too large will result in a loose or spinning rivet nut.
Deburr the hole if necessary to ensure a flat seating surface for the rivet nut's flange.
Select the Correct Mandrel and Nosepiece:
Ensure your rivet nut tool is fitted with the appropriate mandrel and nosepiece that match the thread size of the rivet nut you are using. This is critical for successful and safe installation.
Thread the Rivet Nut onto the Tool:
Screw the rivet nut onto the threaded mandrel of the rivet nut tool until it is fully seated against the nosepiece. Ensure it's straight and not cross-threaded.
Insert the Rivet Nut into the Hole:
Insert the rivet nut (still attached to the tool) into the prepared pilot hole in your material. The flange of the rivet nut should sit flush against the surface of the material.
Set the Rivet Nut:
Activate the Rivet Nut Tool: Squeeze the handles (for manual tools) or activate the trigger (for pneumatic/hydraulic tools). The tool will pull the mandrel back, drawing the body of the rivet nut towards the nosepiece.
Observe the Collapse: As the mandrel retracts, the un-threaded portion of the rivet nut's body will begin to collapse and form a bulge on the blind side of the material. This bulging action is what secures the rivet nut in place and creates the strong thread. Continue to activate the tool until you feel a firm resistance, indicating the rivet nut is fully set and compressed against the material. Some tools have a visual indicator or a pre-set stroke for proper setting.
Retract the Tool:
Once the rivet nut is fully set, unscrew the mandrel from the now-installed rivet nut (most tools automatically reverse the mandrel for easy removal). The tool should detach cleanly, leaving a securely fastened, threaded insert.
Practice Makes Perfect: If you're new to using rivet nuts, practice on scrap material first to get a feel for the tool and the proper setting force.
Check Material Thickness: Ensure the grip range of your chosen rivet nut matches the thickness of your material. A rivet nut designed for a thinner material will not properly set in a thicker one, and vice versa.
Cleanliness: Keep the rivet nuts and the installation area clean to avoid any obstructions during setting.
Lubrication (for stainless steel): For stainless steel rivet nuts, a small amount of lubricant on the mandrel threads can prevent galling during installation, which can occur due to the inherent properties of stainless steel.
Avoid Over-Setting: Over-setting a rivet nut can deform the material, strip the internal threads, or even damage the tool. Follow the manufacturer's recommendations or practice to find the optimal setting force.
Consider Hexagonal Rivet Nuts for Torque Resistance: If your application involves high torque on the fastener, consider using hexagonal body rivet nuts. These require a hexagonal pilot hole but offer superior resistance to spinning compared to round body types.
By following these guidelines, you can effectively use blind rivet nuts to create durable and reliable threaded connections in a wide range of applications, from automotive and aerospace to electronics and general fabrication. Understanding the principles of their operation and using the correct tools and techniques will ensure a professional and long-lasting result.


")
")
")

Copyright © Steady Industrial Fasteners Co., Ltd. All Rights Reserved China Blind Rivet Nuts Manufacturers Self-Clinching Factory


 EN
EN  English
 русский
 한국어
한국어 عربى
عربى Türk
Türk